This week we focused on making something BIG! I decided to use the Shopbot machine in order to make a portable workstation.
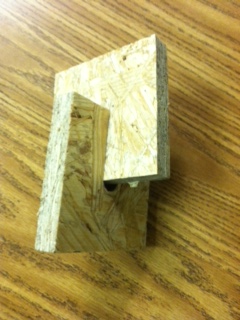
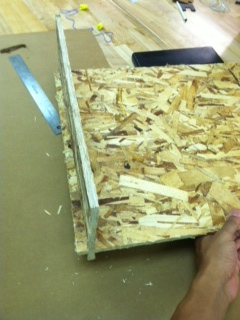
I used Partworks in order to design this week's project. In order to make sure that I would have a good fit between my joints, I first cut out two test pieces using the Shopbot so that I could make sure that I was using the right dimensions in order to get a good fit when I designed my actual piece. The pieces came out a little too tight together; however, the fit gave me a good idea of how large I should make my slots in my final design.
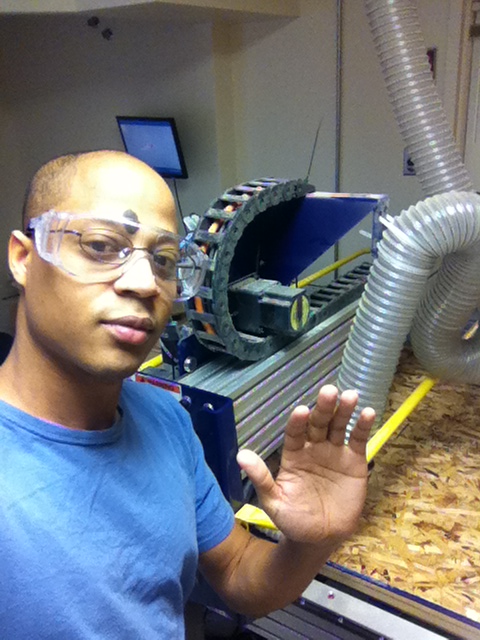
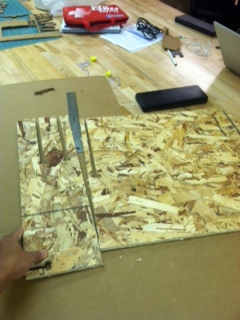
I then went to work in earnest in Partworks. I designed my sides, back, and trays for my workstation separately so that I could go back and edit them individually in case I needed to go back and make edits to parts after milling them the first time. After creating my first draft, I finally went to the milling machine to test out two of the main joints (one side and one tray) fit together correctly. I used OSB wood, and a 1/4th inch upcut bit. Before using the machine, I made sure to put on my safety goggles and keep track of where my hands were at all times!
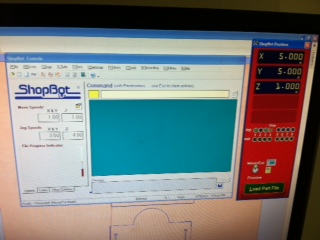
I opened the Shopbot program onto the computer in order to control the machine. Once I ran the program, I set the appropriate x, y, and z starting points. I then uploaded my toolpath files that the machine would mill.
After I finished milling the side and the tray, I put them together in order to see if they fit; however, I noticed a few problems: the slots where slightly larger than they needed to be, and the sides of the tray (the part hanging outside of the side parts) were flimsy because they were not wide enough. I decided to increase the width of the part of the tray that hung outside of the side, and I decided to make all of my slots slightly smaller.
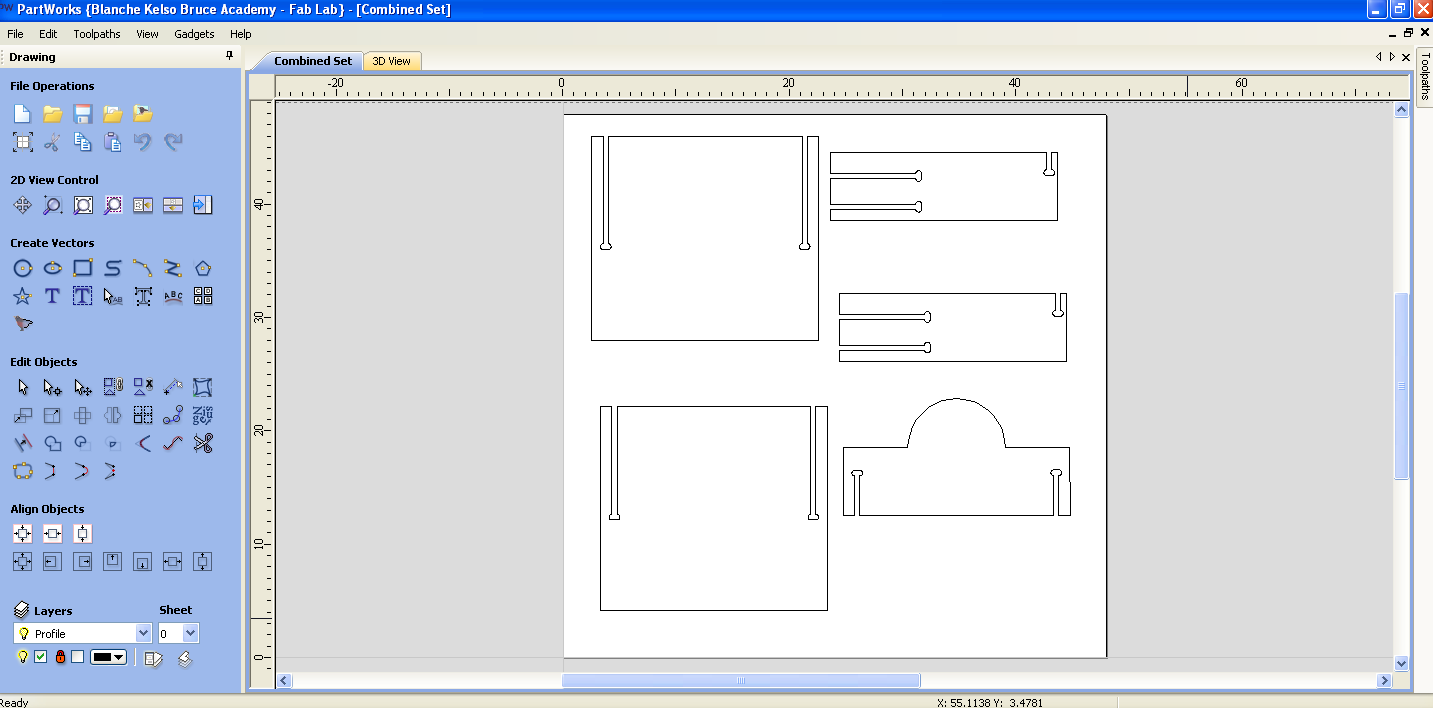
After I went back to all of my original files, I then loaded them all onto the same board in Partswork.
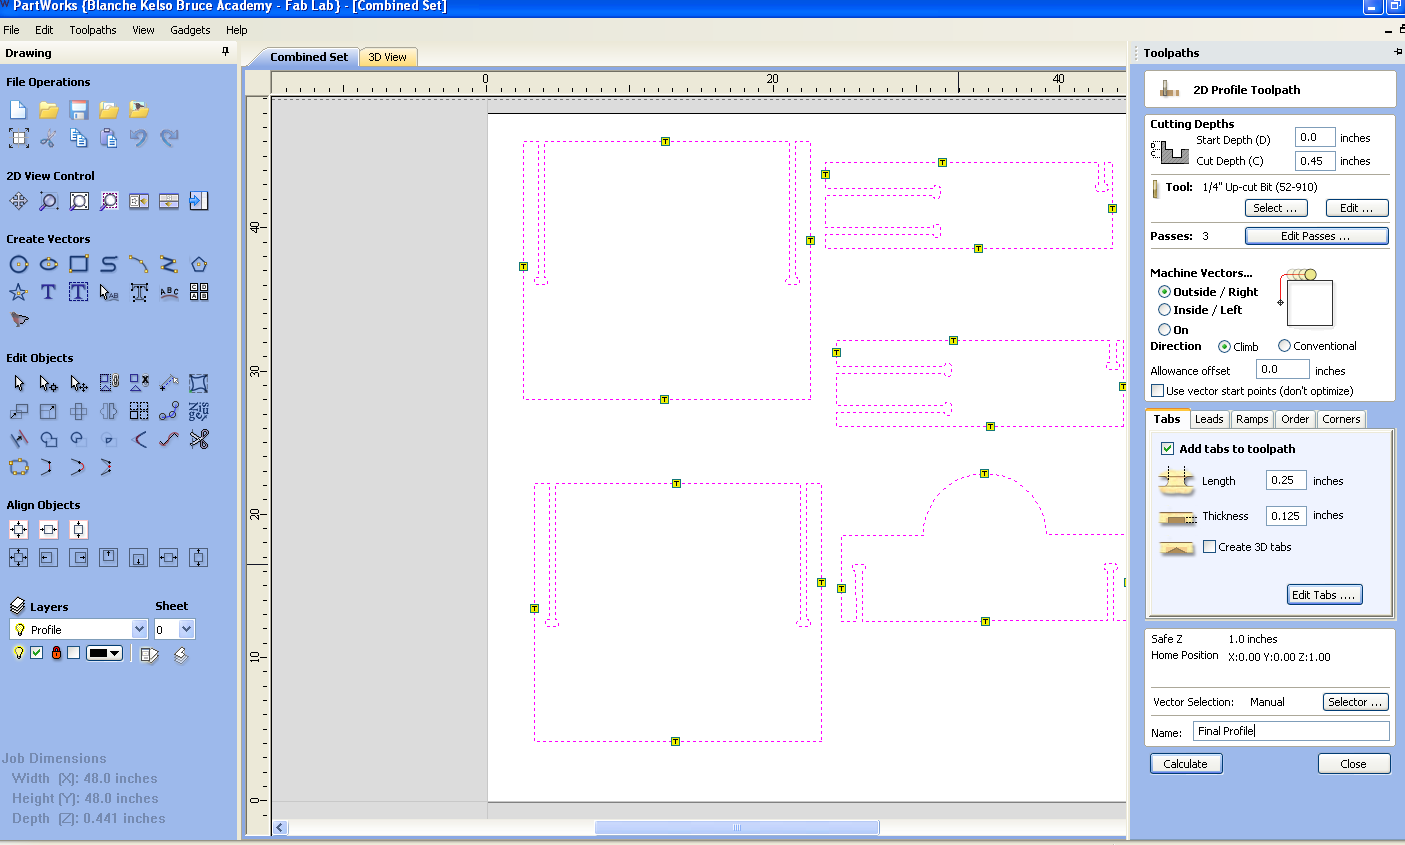
Then I created the final toolpath for the Shopbot. I used tabs in order to make sure that the wood would not leave the surface while the machine was milling.
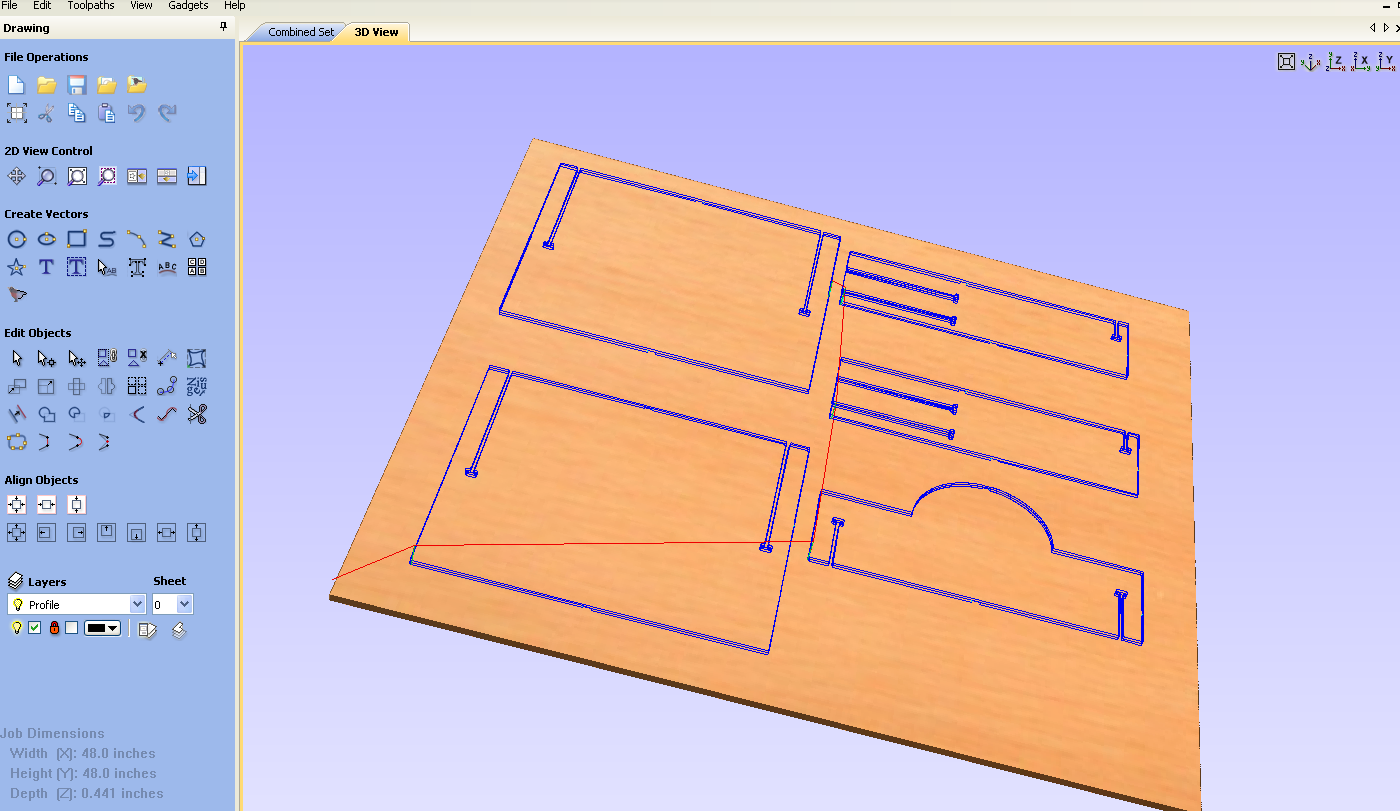
Next, I looked at the toolpath in 3D in order to see the direction in which the machine would mill.
Then I opened the program in Shopbot again. Again, I only did two pieces in order to make sure that the joints fit properly.
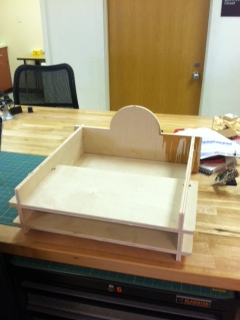
After I saw that the joints fit together well, I went ahead and milled the rest of the parts (the top and the other side and tray).
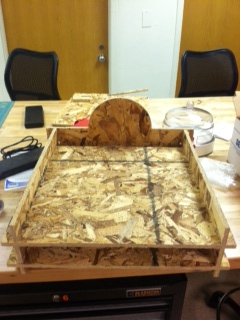
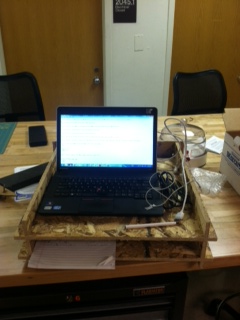
In order to make sure it could actually function as a portable workstation, I went ahead and tested it out myself for the rest of the day!
After I was finished, I decided that I wasn't quite happy with the final version of my project; therefore, I made a few changes. I shortened the top tray so that I could reach the bottom tray easily from the back. I also used plywood because the material was sturdier. I also re-sized the joints so that they would fit more tightly. I made the side joints on the outside of the bottom tray shorter so that they would be stronger on the sides.